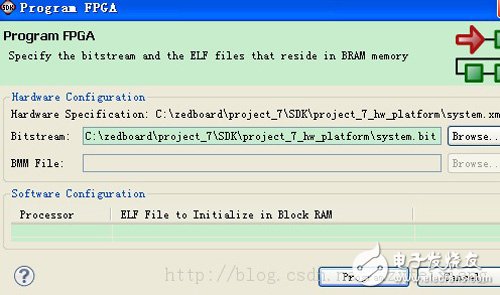
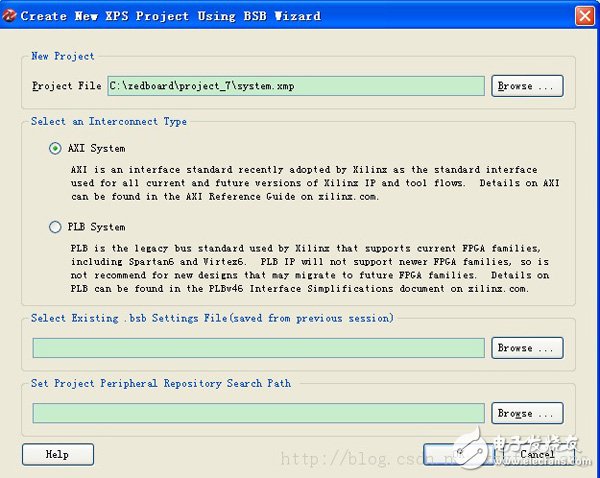
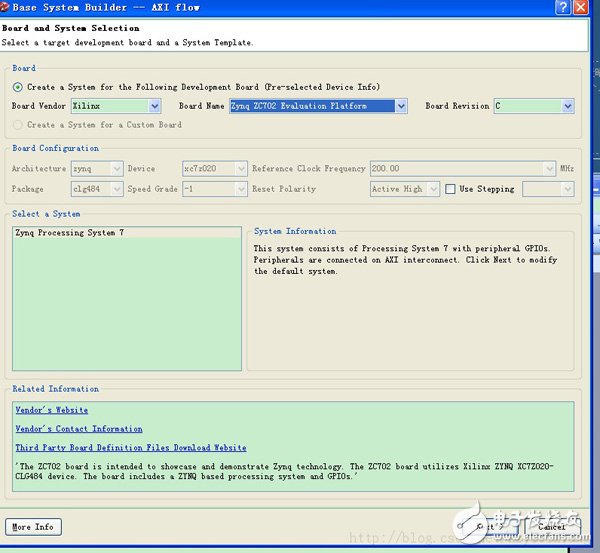
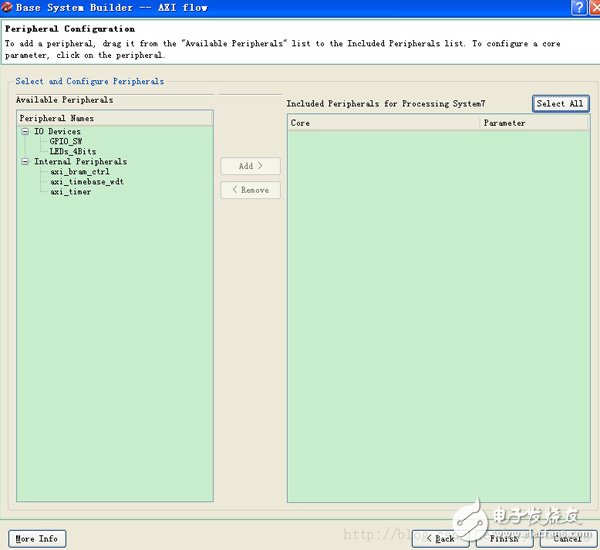
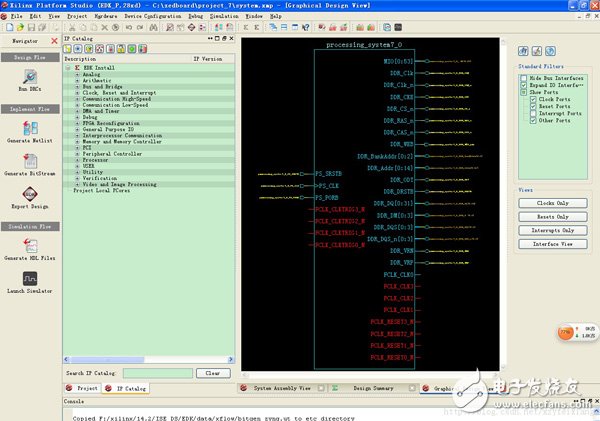
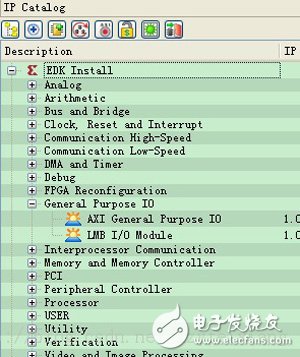
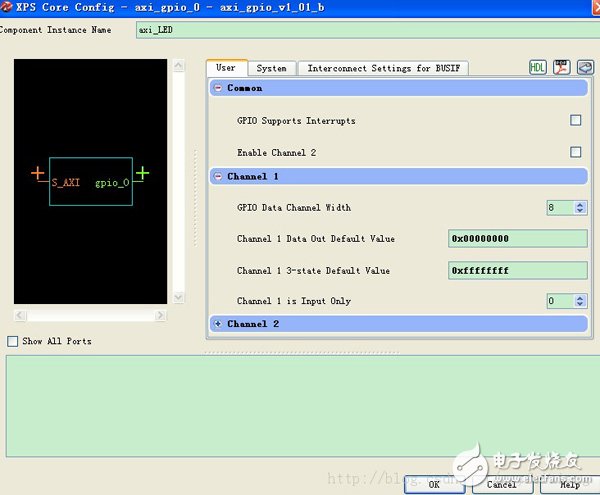
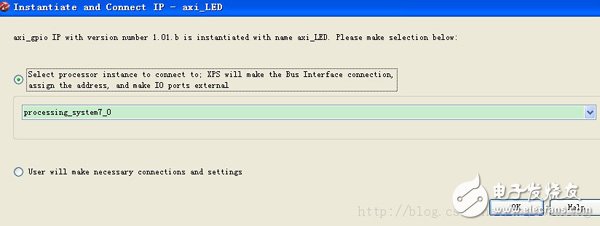
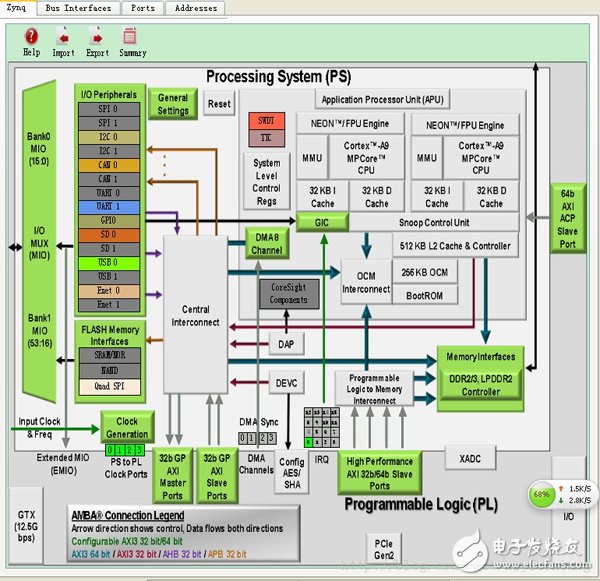
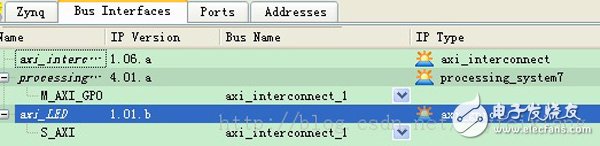
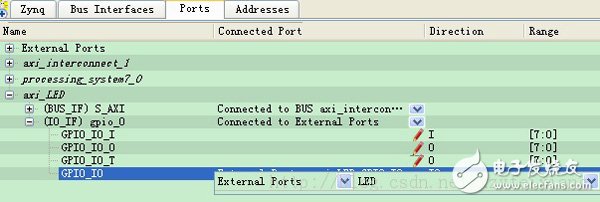
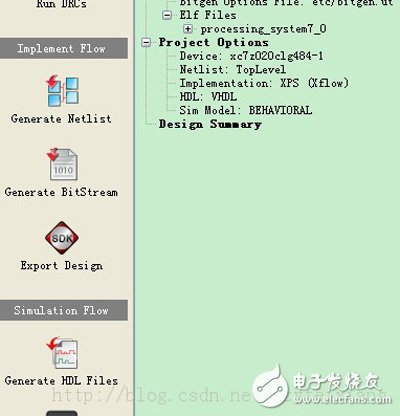
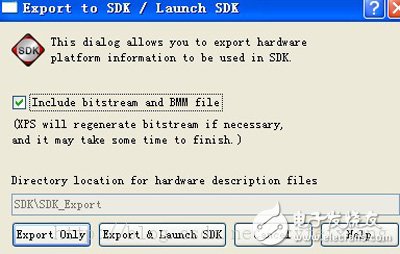
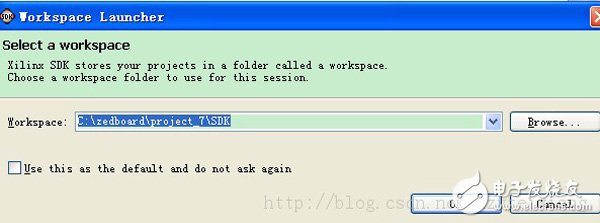
Refer to the Ultra Sunny blog to add additional IP to the PS processing system using XPS. Add GPIO from the IP Catalog tab and connect to the 8 LEDs on the ZedBoard board. When the system is set up, a bitstream is generated and the peripherals are tested. There is also a very important custom user Ipcore design in the future, the next experiment to do this (in the beginning with a simple led and sw as an example). This experiment uses its own peripheral IP. The platform used is XPS 14.2+SDK 14.2 a hardware configuration 1, start xps creation project Create New Project Using BaseSystem Builder Create a project. Since the PS system and the FPGA are connected using the AXI interface, the internal interconnect type (Interconnect Type) is selected as AXI. Choose the design platform for ZynqZC702 To the peripheral configuration interface, the system will have two peripherals, GPIO_SW and LEDs_4bits by default, we don't need it, remove 2. Add AXI GPIO peripherals Enter the main interface After the project is created, in the IPCatalog, find GeneralPurpose IO, find AXI GPIO, and double-click to add to the system. The modified component instantiation name is axi_LED, which is the component that will be instantiated to connect to the PS. Change the length to 8, the other default. Appeared after Ok Click ok, Click on the BusInterfaces tab and you can see that the system summary now has PS (here processing_systems7_0), added peripheral axi_LDs and AXI internal interconnect bus axi_interconnet_1. It can be seen that for axi_interconnet_1, the PS is the AXI master and the peripheral is the AXI slave. On the Port tab, set GPIO_IO in IO_IF to External Ports and change the Port name to LED. The LED is the top-level external pin name. Note that this is different from the reference blog. According to the reference blog, it can't be successful. 3, set the pin constraints In the project tab, find the system.ucf constraint file. 4. Click Generate BitStream to generate a bitstream. 5. Import the hardware configuration to the SDK and start the SDK. Here you need to include the bitstream and BMM files in the SDK at the same time. Second, create a software program Use the New Project Wizard. Note that the project template is used here as Memory Tests. After the new project is created, there will be several files for the storage space test, which we don't need and delete. Modify the main file, the content is as follows @超群天晴 Void print(char *ptr); Int main() Init_platform(); Print("ZedBoard project_7: PS_AXI_LED"); XGpio_SetDataDirecTIon(&LED_Ptr, 1,0x00); // channel 1; set direction 0 output 1 input XGpio_DiscreteWrite(&LED_Ptr, 1,0xaa); Cleanup_platform(); } Before downloading the software program, you need to burn the bitstream file as an FPGA to configure the FPGA. In the toolbar, Xilinx tools->Program FPGA can also use other methods such as Device ConfiguraTIon->Download Bitstream in XPS to configure the FPGA. Compact Substation,Isolation Transformer,Compact Prefabricated Substation,Compact Transformer Substation Hangzhou Qiantang River Electric Group Co., Ltd.(QRE) , https://www.qretransformer.com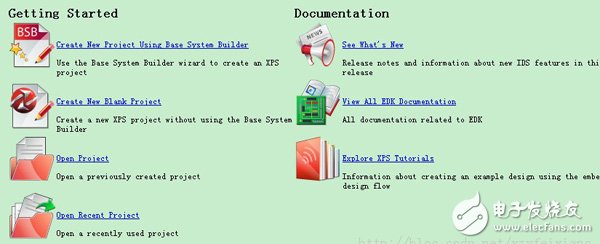

#include
#include "xparameters.h"
#include "xil_types.h"
#include "xstatus.h"
#include "xil_testmem.h"
#include "xgpio.h"
#include "platform.h"
{
staTIc XGpio LED_Ptr; / / define GPIO pointer
Int XStatus; / / function return status
Print("xzy September 18, 2013 18:12:31");
Note that the name must be changed below, previously XPAR_AXI_LDS_DEVICE_ID
XStatus = XGpio_IniTIalize(&LED_Ptr, XPAR_AXI_LED_DEVICE_ID);
If(XST_SUCCESS != XStatus)
Print("GPIO INIT FAILED");